Residential Tile Installation
Floors, walls, and entryways — installed to last.
What This Service Covers
Residential tile installation spans a wide range of surfaces: living room floors, entryway floors, laundry room floors, interior wall tile, fireplace surrounds, and mudroom areas. We work with ceramic, porcelain, natural stone, and large-format tile in any of these spaces.
The scope of the work always begins with the substrate. Before any tile is set, we assess the existing floor or wall surface for flatness, structural soundness, and compatibility with the tile being installed. Large-format tiles — anything over 15 inches on a side — require a substrate flatness tolerance of no more than 1/8 inch over 10 feet. We check this with a straightedge and address deviations before setting begins.
Materials We Work With
Porcelain tile is the most common choice for residential floors in this area — it is dense, low-maintenance, and available in a wide range of sizes and finishes including wood-look, stone-look, and concrete-look. Natural stone (travertine, slate, limestone, marble) requires different mortar and grout choices because the material is more porous and can be scratched by sanded grout. We adjust technique and product selection for the material on each job.
For large-format tile (24x24 and larger), we use a medium-bed mortar rather than standard thin-set. Medium-bed mortar allows for slight adjustments in substrate levelness without the tile rocking, and it provides better coverage under the full tile footprint — a minimum of 95% coverage is the standard for floors.
Layout and Pattern Planning
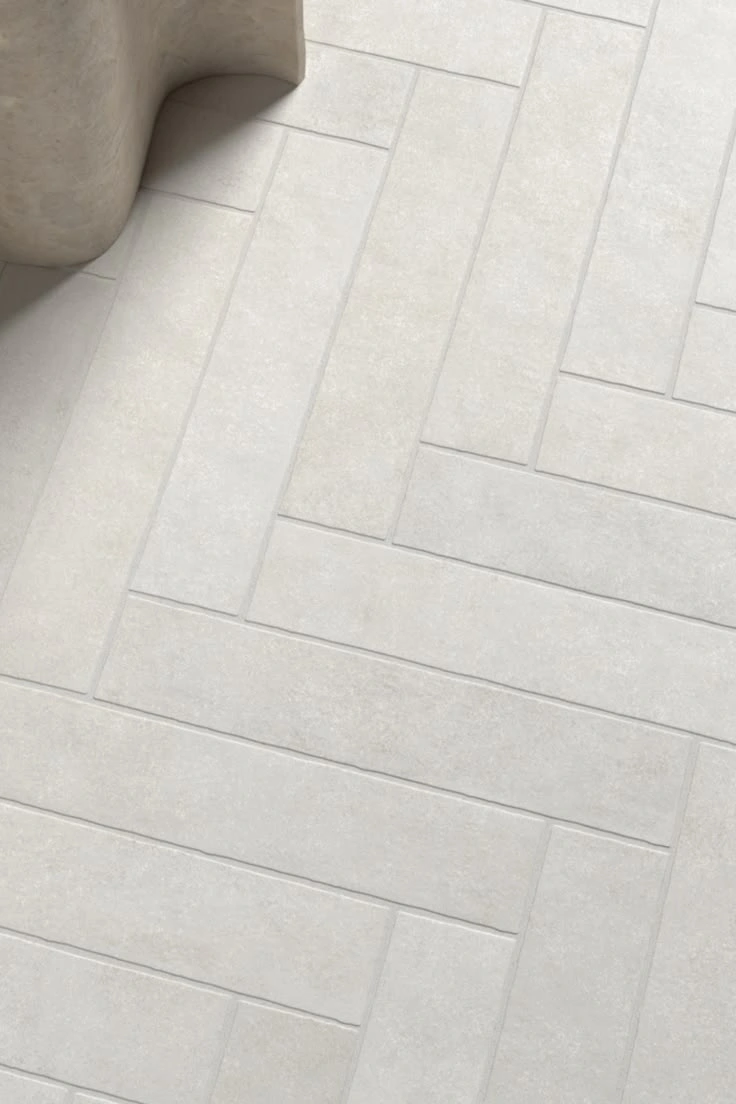
We plan the tile layout before any mortar is mixed. For a standard offset (brick-pattern) floor, we find the center of the room and work outward to ensure equal cuts at opposite walls. For diagonal layouts, herringbone, or custom patterns, the planning step takes longer but prevents the awkward small cuts that appear when layout is not thought through. You will see the dry layout before we commit to mortar.
How a Residential Tile Install Proceeds
-
1
Substrate Assessment
We check flatness, flex, moisture, and compatibility. Any remediation needed is noted in the estimate.
-
2
Underlayment and Prep
Cement board, self-leveling compound, or crack-isolation membrane installed as required by the surface condition.
-
3
Dry Layout
Tiles are laid out without mortar to confirm the pattern, grout joint width, and cut placement at all walls and transitions.
-
4
Setting and Grouting
Mortar mixed to the correct consistency, tiles set with spacers, back-buttered for full coverage. Grout applied after mortar cure.
-
5
Sealing and Cleanup
Grout sealed after full cure. Work area cleaned and protected surfaces restored. Final walkthrough with the homeowner.
Available In These Areas
Residential tile installation is available throughout our service territory in the south Denver metro. Each community has its own housing stock and substrate conditions that we are familiar with.